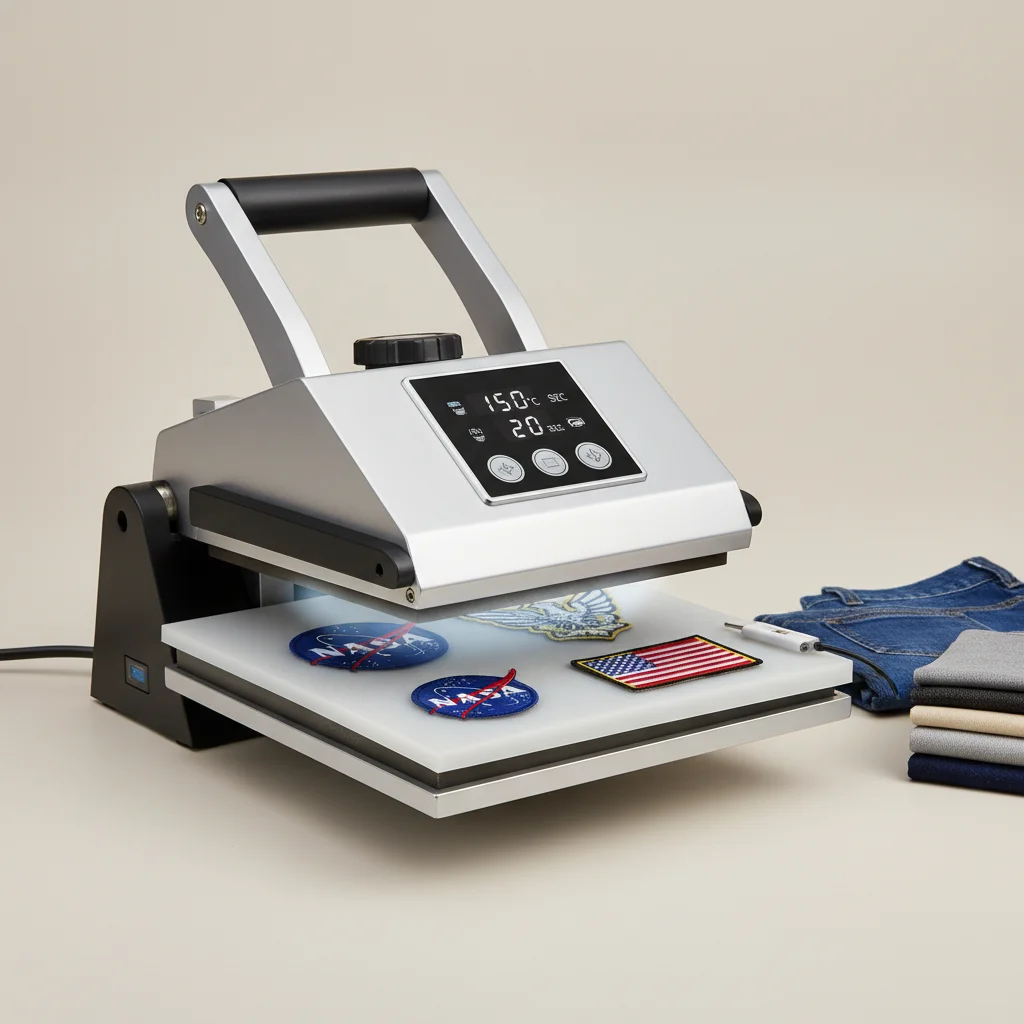
When using an ironing press for patches, the most effective type is a heat press with precise temperature control and even pressure distribution. This ensures the adhesive on the patch melts uniformly without scorching the patch material or the garment. A digital heat press often provides the best control for delicate patch applications.
Understanding Heat Press Types for Patches
There are several types of ironing presses, but not all are suitable for applying patches. Traditional steam ironing presses, while excellent for wrinkles, can introduce moisture that interferes with patch adhesives. For patches, a dedicated heat press, often used in crafting or commercial settings, is ideal. These presses typically feature a flat platen that heats up and a top platen that applies consistent, downward pressure. The key difference is the absence of steam and the ability to maintain a dry, consistent heat.
When selecting a heat press, consider the size of the platen. For small, individual patches, a compact 9×12 inch press might suffice. However, if you plan to apply multiple patches or larger designs, a 15×15 inch or even a 16×20 inch press will offer more versatility and efficiency. The material of the platen also matters; non-stick coated platens help prevent residue buildup from patch adhesives.
Key Features for Patch Application
For optimal patch application, look for specific features in an ironing press. Digital temperature control is paramount, allowing you to set the exact heat required for different patch types (e.g., embroidered, PVC, chenille) and garment materials. A timer function is equally important, ensuring you apply heat for the precise duration recommended by the patch manufacturer. Over-pressing can lead to adhesive failure or damage to the patch or fabric.
Even pressure distribution is another critical factor. Some presses have adjustable pressure knobs, allowing you to fine-tune the force applied. This is crucial for ensuring the patch adheres securely across its entire surface without creating air bubbles or uneven bonding. A clam-shell or swing-away design can also impact ease of use and safety when positioning garments and patches.
- Digital temperature control for precise heat settings.
- Integrated timer for accurate pressing duration.
- Adjustable pressure for even adhesion.
- Non-stick platen to prevent adhesive transfer.
- Appropriate platen size for your typical patch projects.
Preparing Your Garment and Patch
|
Our Picks for the Best Ironing Press in 2026
As an Amazon Associate I earn from qualifying purchases.
|
||
| Num | Product | Action |
|---|---|---|
| 1 | Steamfast SF-623 Mid-Size Steam Press with Multiple Fabric Settings and Steam Burst Function, Black, 20.47" L x 17.16" W x 6.73" H |

|
| 2 | BLACK+DECKER Press & Steam 2-in-1 Iron and Steamer, 180% More Steam & One Temperature Technology, Ceramic Soleplate, Safe on All Fabric Types |
|
| 3 | BLACK+DECKER Easy Steam Compact Iron for Clothes, Automatic Shutoff, Nonstick Plate, Light Weight, 1200 Watts |
|
| 4 | Calogy Mini Heat Press, Heat Transfer Machine, Constant Temp Control, Insulated Safety Base, Fits for Crafts, T-Shirt, Hat, Cap, Pillows(White Pink) |
|
| 5 | Steamfast SF-680 Digital Steam Press with Multiple Fabric Settings and Steam Burst Function,Stainless/Black |
|
| 6 | Cricut EasyPress Mini Heat Press - for Pressing Small Objects Like Shoes, Stuffed Animals, Hats & More - 3 Heat Settings & Precision Tip - Ceramic-Coated Heat Plate - Compact & Lightweight - Zen Blue |
|
| 7 | DRFLASH 2-in-1 Steamer & Iron for Clothes,15s Fast Heat-up 1200W Portable Handheld Garment Steamer,Travel Size with Large Ceramic Heat Panel,Quick Wrinkle Removal,110V-120V |
|
| 8 | HTVRONT Heat Press Mini Heat Press Machine, Small Heat Press Portable Iron Press Machine for T Shirts, Hats, Heating Transfer Projects (Mint) |
|
| 9 | The Quilted Bear Mini Steam Iron - Lightweight Mini Travel Iron for Effortless Quilting & Wrinkle-Free Clothes with Hard Shell Case - Travel Steamer Craft Press for Clothes & Crafts (Black) |
|
| 10 | Cricut EasyPress Mini™ LT - Mint Green - Mini Heat Press for Pressing Shoes, Baby Clothes, T-Shirts, & More - Easy to Use with a Single Setting - Precision Tip - Compact & Portable Mini Iron |
|
Before using an ironing press for patches, proper preparation is essential. Ensure the garment is clean, dry, and free of wrinkles in the area where the patch will be applied. Pre-pressing the garment for a few seconds can remove any moisture and create a flat surface. Position the patch carefully, using heat-resistant tape if necessary to prevent shifting during the pressing process. Always place a protective sheet, such as parchment paper or a Teflon sheet, between the patch and the top platen of the press. This protects both the patch and the press from direct heat and adhesive residue.
Refer to the patch manufacturer’s instructions for recommended temperature and pressing time. These guidelines are crucial for achieving a durable bond. Different patch types, such as iron-on, embroidered, or PVC, will have varying requirements. Ignoring these instructions can result in a poorly adhered patch or damage to the materials.
Troubleshooting Common Patch Pressing Issues
Even with the right equipment, issues can arise. If a patch isn’t adhering properly, the most common culprits are insufficient heat, inadequate pressure, or too short a pressing time. Double-check your settings against the manufacturer’s recommendations. If the patch edges are lifting, try increasing the pressure slightly or extending the pressing time by a few seconds. Conversely, if the patch or fabric appears scorched, the temperature may be too high or the pressing time too long. Always test on a scrap piece of fabric if you are unsure.
Another issue can be adhesive bleeding. This often occurs when the temperature is too high, causing the adhesive to melt excessively and seep out from under the patch. Reducing the temperature and ensuring you use a protective sheet can help mitigate this. For best results, allow the garment and patch to cool completely before handling to ensure the adhesive has fully set.Investing in a quality heat press specifically designed for patch application will significantly improve your success rate and the longevity of your patched items.
